


How to Install Cable Railing
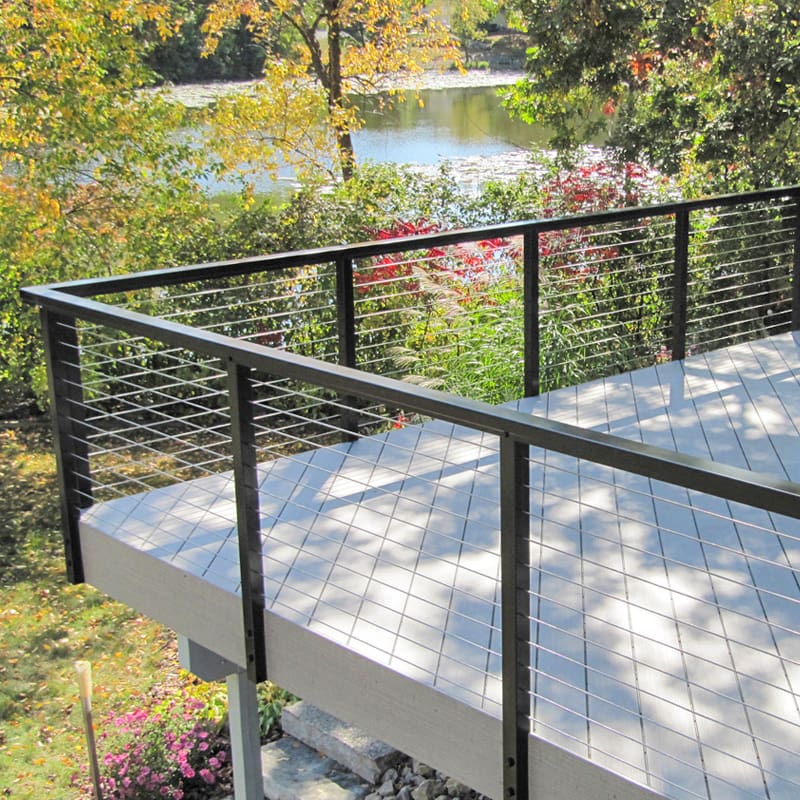
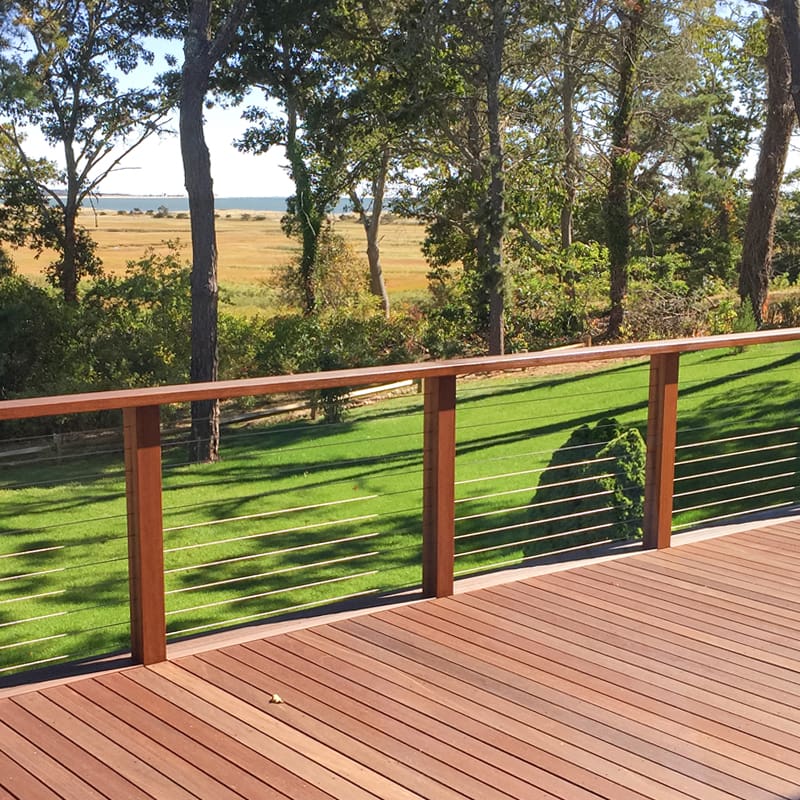
Learn how to install cable railing like a deck professional. This video tutorial will go over the steps and provide tips for installing one of our DIY cable railing systems. The end fitting hardware and crimping portion is universal for any cable railing installation, whether the post material be stainless steel, like in this video, aluminum, wood, or retrofit.
Steps Covered:
- Verify that all the necessary components and tools have been assembled.
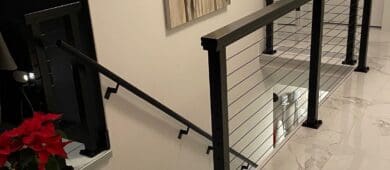
- Prepare the fascia brackets and attach them to the side of your staircase (or deck).
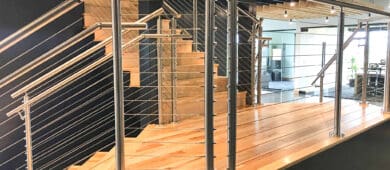
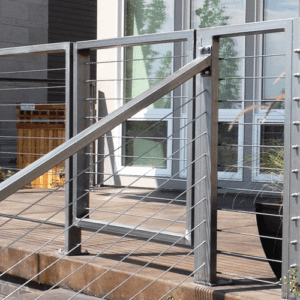
- Insert stainless steel square posts into the fascia brackets and tighten the brackets.
- Attach the cap rail to the mounting bracket post caps.
- Use epoxy to secure the mounting brackets into the posts.
- Crimp the field terminals onto each cable strand, feed them through the posts and secure with end hardware.
- Thread, measure, and cut the cables to their final length.
- Crimp the field tensioners onto the other end of each cable strand, then feed them through the posts and secure with some of the end hardware.
- Remove excess threading and finish attaching end hardware to the tensioners.
- Passivate the cables and other exposed stainless steel surfaces to keep them clean and protect them from corrosion.
Below are links to detailed instruction manuals for all Stainless Cable & Railing component systems. Click on the appropriate frame materials and fittings assemblies to view their installation instructions.